Animation Splash Screen in Flutter – Modern app design requires animations and splash screens to engage users.
Flutter animation allow app developers to create stunning and interactive animations. This article discusses Flutter animation splash screens and their benefits for mobile apps.
Why do we need a Splash Screen?
Apps launch with a splash screen. An image or animation fills the screen while the app loads resources. Splash screens notify users that the app is launching and beautify the loading process.
Why Animations Are Crucial for Mobile Apps?
Mobile app development relies heavily on animations. They help keep users interested and engaged by providing a pleasant aesthetic experience. Important information and feedback, such as the status of an operation or the completion of a task, can also be conveyed to users through animations.
Creating Animation Splash Screen in Flutter
Let’s dive into how to make an animated splash screen in Flutter now that we know what splash screens and animations are and how they can help mobile apps.
- Create a new Flutter project:
Create a new Flutter project using the following command:
flutter create my_app
- Create Splash screen:
Make an animated splash screen widget to show off your work next. The following code should be added to a new file named splash_screen.dart
import 'package:flutter/material.dart';

class SplashScreen extends StatefulWidget {
  @override
  _SplashScreenState createState() => _SplashScreenState();
}

class _SplashScreenState extends State<SplashScreen>
    with SingleTickerProviderStateMixin {
  AnimationController _animationController;

  @override
  void initState() {
    super.initState();
    _animationController = AnimationController(
      vsync: this,
      duration: Duration(seconds: 2),
    )..repeat();
  }

  @override
  void dispose() {
    _animationController.dispose();
    super.dispose();
  }

  @override
  Widget build(BuildContext context) {
    return Scaffold(
      body: Center(
        child: AnimatedBuilder(
          animation: _animationController,
          builder: (context, child) {
            return Transform.rotate(
              angle: _animationController.value * 2 * 3.14,
              child: child,
            );
          },
          child: Image.asset('assets/logo.png', height: 150),
        ),
      ),
    );
  }
}
This code generates a StatefulWidget that ticks away at the splash screen with the help of a SingleTickerProviderStateMixin. The animation is repeated for two seconds after we set up an AnimationController. We also employ an AnimatedBuilder to animate the image’s rotation.
- Create home screen:
After the splash screen, go to the home screen. This example creates a welcome home screen.
class HomeScreen extends StatelessWidget {
  @override
  Widget build(BuildContext context) {
    return Scaffold(
      appBar: AppBar(
        title: Text("Animation Splash Screen"),
      ),
      body: Center(
        child: Text(
          "Welcome to the app!",
          style: TextStyle(fontSize: 24),
        ),
      ),
    );
  }
}
- Navigate to splash screen:
The app’s splash screen must be reached last. We initialize the splash screen as the home page with a MyApp widget in the example below.
import 'dart:async';

import 'package:flutter/material.dart';

void main() {
  runApp(MyApp());
}

class MyApp extends StatelessWidget {
  @override
  Widget build(BuildContext context) {
    return MaterialApp(
      title: 'Animation Splash Screen',
      debugShowCheckedModeBanner: false,
      home: SplashScreen(),
      routes: {
        '/home': (context) => HomeScreen(),
      },
    );
  }
}

class HomeScreen extends StatelessWidget {
  @override
  Widget build(BuildContext context) {
    return Scaffold(
      appBar: AppBar(
        title: Text("Animation Splash Screen"),
      ),
      body: Center(
        child: Text(
          "Welcome to the app!",
          style: TextStyle(fontSize: 24),
        ),
      ),
    );
  }
}

class SplashScreen extends StatefulWidget {
  @override
  _SplashScreenState createState() => _SplashScreenState();
}

class _SplashScreenState extends State<SplashScreen>
    with SingleTickerProviderStateMixin {
  late AnimationController _animationController;

  @override
  void initState() {
    super.initState();
    _animationController = AnimationController(
      vsync: this,
      duration: Duration(seconds: 3),
    )..repeat();
    Timer(Duration(seconds: 3), () {
      Navigator.pushReplacement(
        context,
        MaterialPageRoute(builder: (context) => HomeScreen()),
      );
    });
  }

  @override
  void dispose() {
    _animationController.dispose();
    super.dispose();
  }

  @override
  Widget build(BuildContext context) {
    return Scaffold(
      body: Center(
        child: AnimatedBuilder(
          animation: _animationController,
          builder: (context, child) {
            return Transform.rotate(
              angle: _animationController.value * 2 * 3.14,
              child: child,
            );
          },
          child: Image.asset('assets/logo.png', height: 150),
        ),
      ),
    );
  }
}
Output
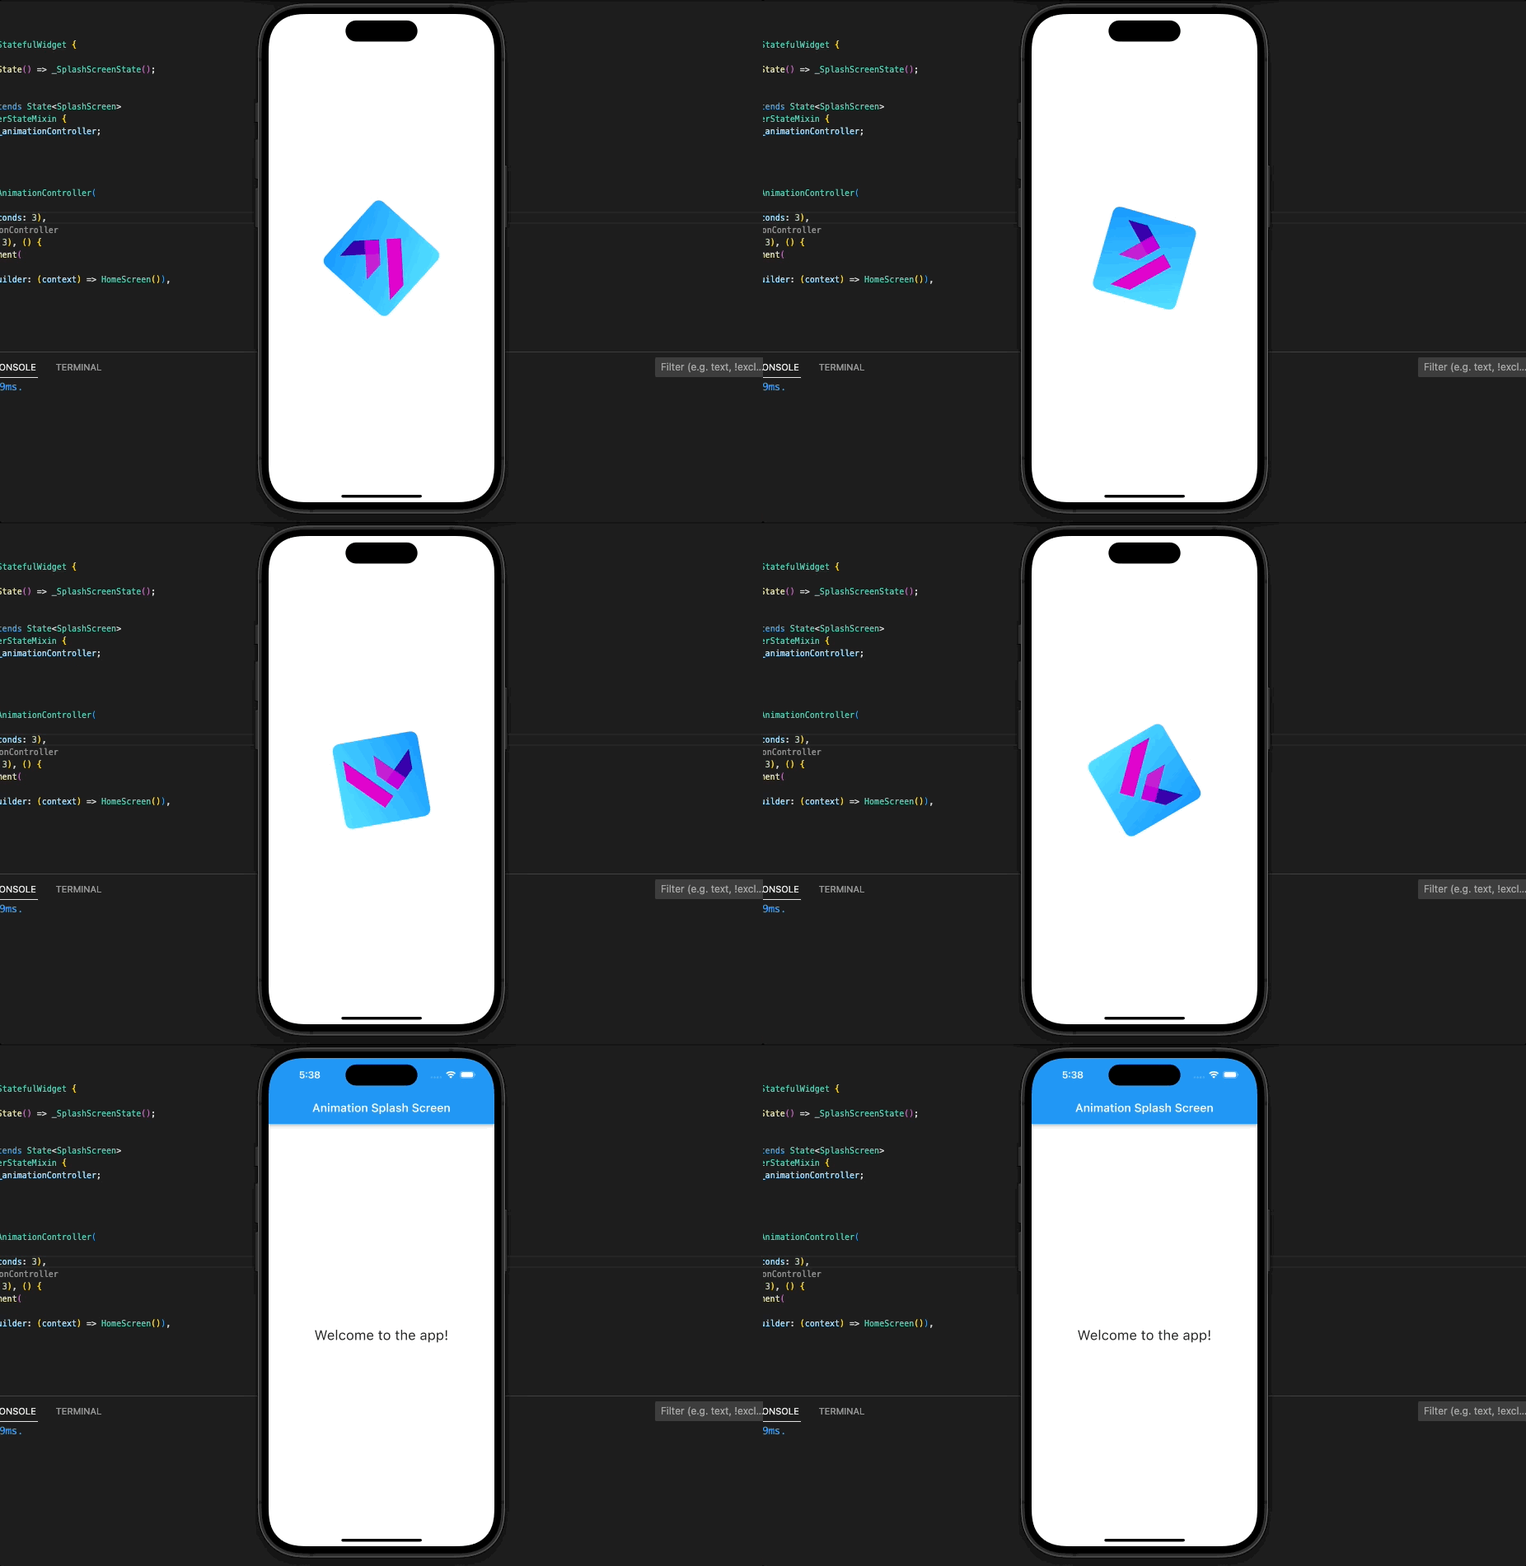
We define a path to the home screen in the MyApp widget and make the splash screen our starting point. After the splash screen has finished loading, the “/home” route is pushed onto the navigator stack to take us there.
Animated Splash Screen using Rive
- Get started with Flutter by making a new project and including the following components:
dependencies:
  flutter:
    sdk: flutter
  cupertino_icons: ^1.0.2
  rive: ^0.10.3
In this example, we’ll use the rive Flutter package to create vector animations.
- Use rive to make the animation:
2D vector graphics are used to make the rive animations, which can then be imported into Flutter. Launch the Flare editor and set up a new project to make a rive animation. Export your finished animation in the.riv format.
- Add Flutter rive animation:
Your Flutter app can benefit from rive animation by importing the RiveAnimation widget from Rive Flutter. Make a new widget called RiveAnimation and point it to your.riv file.
class SplashScreen extends StatelessWidget {
  @override
  Widget build(BuildContext context) {
    return Scaffold(
      backgroundColor: Colors.white,
      body: Center(
        child: FlareActor(
          "assets/animation.flr",
          alignment: Alignment.center,
          fit: BoxFit.contain,
          animation: "Untitled",
        ),
      ),
    );
  }
}
- You can adjust the length of the animation by including a timer.
Flutter Timer class controls animation duration. The Timer below waits 5 seconds before navigating to the home screen.
class SplashScreen extends StatefulWidget {
  @override
  _SplashScreenState createState() => _SplashScreenState();
}

class _SplashScreenState extends State<SplashScreen>
      {

  @override
  void initState() {
    super.initState();
    Timer(Duration(seconds: 5), () {
      Navigator.pushReplacement(
        context,
        MaterialPageRoute(builder: (context) => HomeScreen()),
      );
    });
  }

  @override
  Widget build(BuildContext context) {
    return Scaffold(
      backgroundColor: Colors.white,
      body: Center(
        child: FlareActor(
          "assets/animation.flr",
          alignment: Alignment.center,
          fit: BoxFit.contain,
          animation: "Untitled",
        ),
      ),
    );
  }
}
- Create the home screen
The home screen must be accessed after the animation. We create a welcome screen in this example.
class HomeScreen extends StatelessWidget {
  @override
  Widget build(BuildContext context) {
    return Scaffold(
      appBar: AppBar(
        title: Text("Animation Splash Screen"),
      ),
      body: Center(
        child: Text(
          "Welcome to the app!",
          style: TextStyle(fontSize: 24),
        ),
      ),
    );
  }
}
- Navigate to the splash screen
When the app launches, we must go to the splash screen. The MyApp widget below initializes the splash screen as the home page.
void main() {
  runApp(MyApp());
}

class MyApp extends StatelessWidget {
  @override
  Widget build(BuildContext context) {
    return MaterialApp(
      title: 'Animation Splash Screen',
      debugShowCheckedModeBanner: false,
      home: SplashScreen(),
    );
  }
}
Full code
import 'dart:async';

import 'package:flutter/material.dart';
import 'package:rive/rive.dart';

void main() {
  runApp(MyApp());
}

class MyApp extends StatelessWidget {
  @override
  Widget build(BuildContext context) {
    return MaterialApp(
      title: 'Animation Splash Screen',
      debugShowCheckedModeBanner: false,
      home: SplashScreen(),
      routes: {
        '/home': (context) => HomeScreen(),
      },
    );
  }
}

class HomeScreen extends StatelessWidget {
  @override
  Widget build(BuildContext context) {
    return Scaffold(
      appBar: AppBar(
        title: Text("Animation Splash Screen"),
      ),
      body: Center(
        child: Text(
          "Welcome to the app!",
          style: TextStyle(fontSize: 24),
        ),
      ),
    );
  }
}

class SplashScreen extends StatefulWidget {
  @override
  _SplashScreenState createState() => _SplashScreenState();
}

class _SplashScreenState extends State<SplashScreen> {
  @override
  void initState() {
    super.initState();
    Timer(Duration(seconds: 5), () {
      Navigator.pushReplacement(
        context,
        MaterialPageRoute(builder: (context) => HomeScreen()),
      );
    });
  }

  @override
  Widget build(BuildContext context) {
    return Scaffold(
        backgroundColor: Colors.white,
        body: Center(
            child: Center(
                child: RiveAnimation.network(
          'https://cdn.rive.app/animations/vehicles.riv',
          animations: const ['idle', 'curves'],
          fit: BoxFit.cover,
        ))));
  }
}
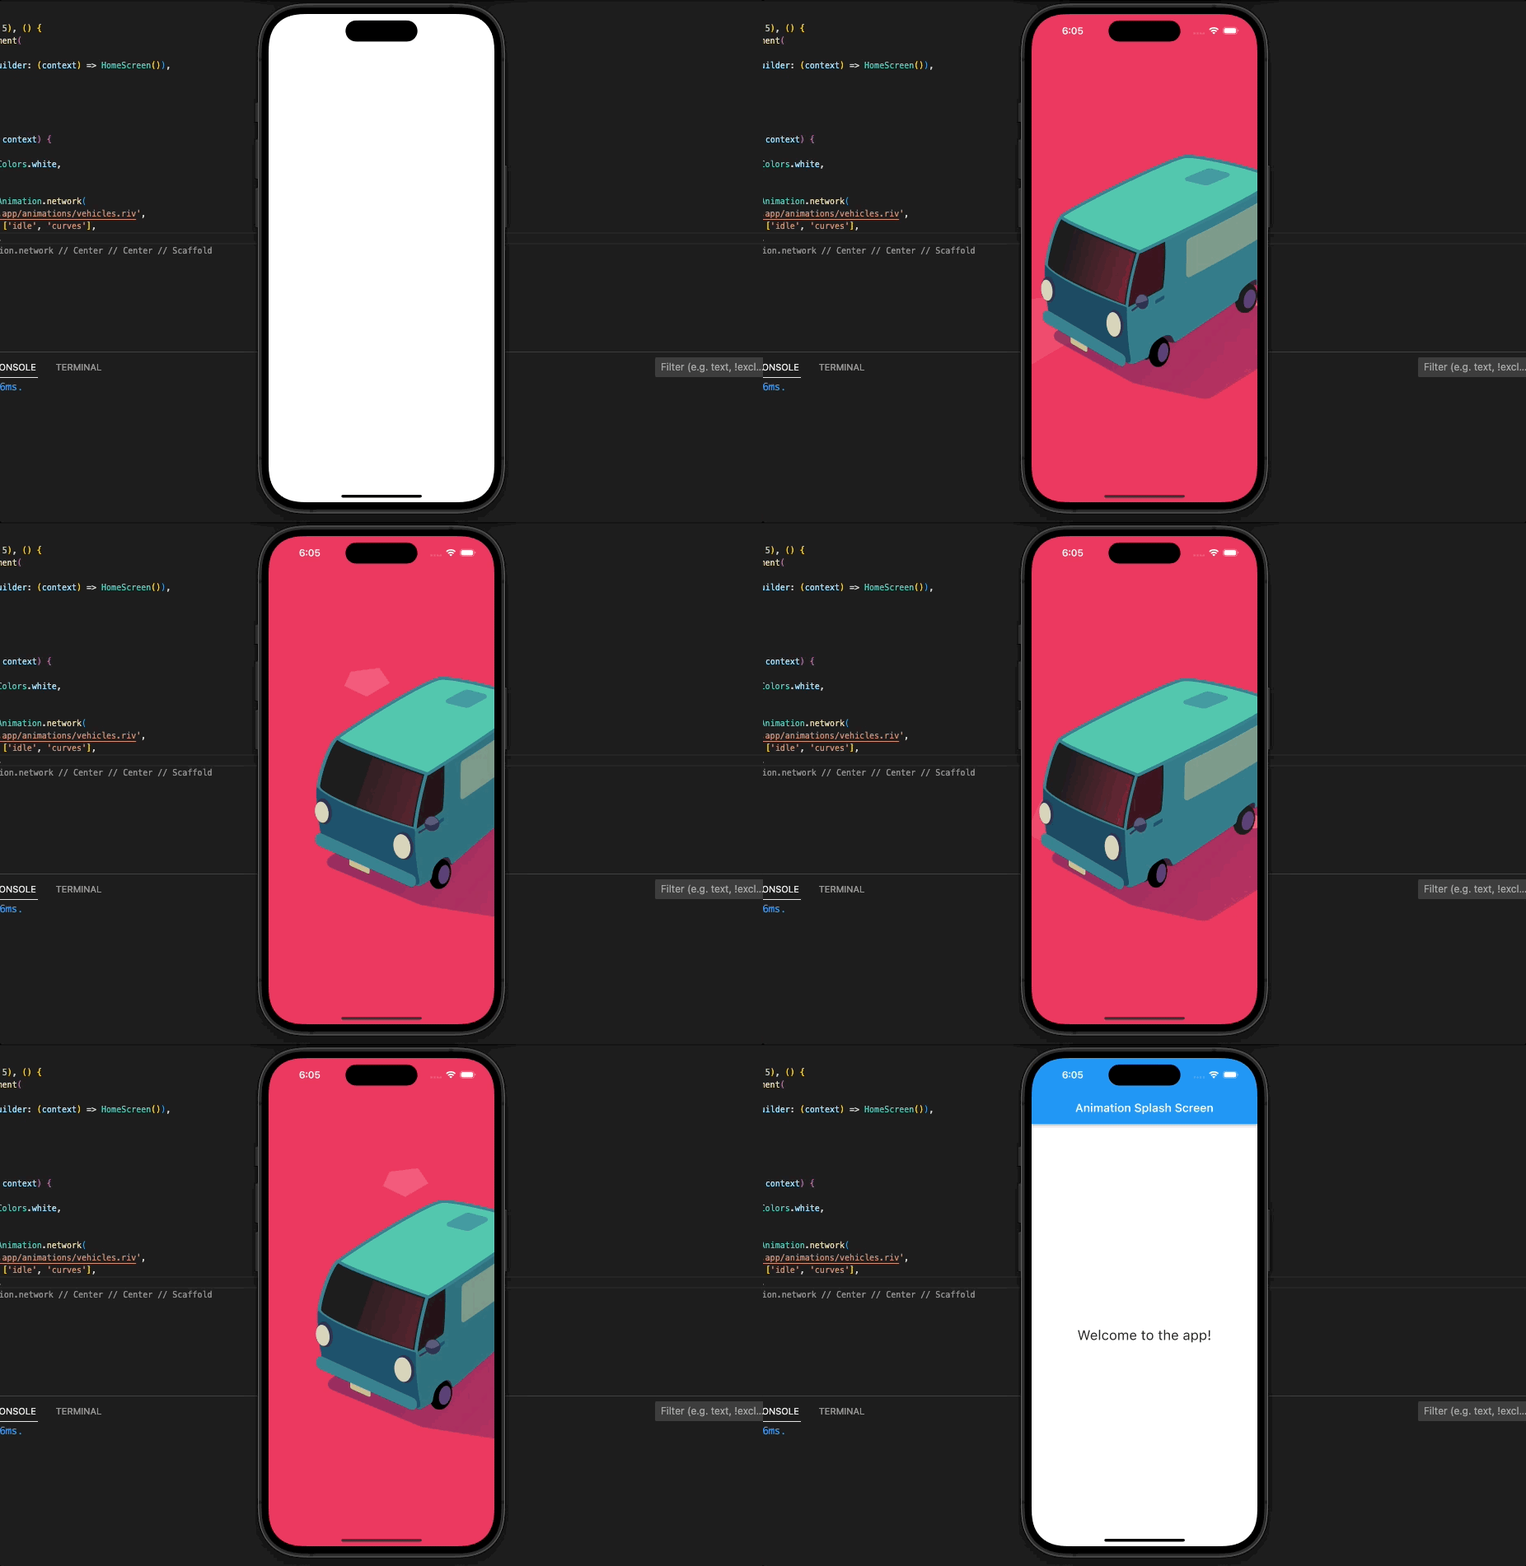
Output
Animation Splash Screen using Lottie
Airbnb developed Lottie. It lets developers add high-quality animations to their apps without creating them. Vector-based Lottie animations scale and look great on any device.
- Installing Lottie
Install Lottie in Flutter. Add this line to pubspec.yaml:
dependencies:
  lottie: ^2.3.2
- Creating the Lottie animation
Next is the animation splash screen with Lottie. LottieFiles.com or Adobe After Effects make it easy to create your own Lottie animation. Put the Lottie file in your Flutter project’s assets folder.
We added “splash_animation.json” to the assets folder to demonstrate Lottie animation.
- Creating the Splash Screen
Create a new Flutter widget called “SplashScreen” to use as the splash screen. This widget will launch with the app every time.
The code below demonstrates how to implement this Animation Splash Screen by first creating a new widget named SplashScreen and then loading the Lottie widget from the flutter lottie package.
import 'package:flutter/material.dart';
import 'package:flutter_lottie/flutter_lottie.dart';

class SplashScreen extends StatefulWidget {
  @override
  _SplashScreenState createState() => _SplashScreenState();
}

class _SplashScreenState extends State<SplashScreen> {
  @override
  Widget build(BuildContext context) {
    return Scaffold(
      backgroundColor: Colors.white,
      body: Center(
        child: Lottie.asset('assets/splash_animation.json'),
      ),
    );
  }
}
Here, we write some code to generate a blank Scaffold widget with a white background. The Lottie animation is then loaded from the assets folder using the Lottie.asset() method.
- Navigating to the Home Screen
It’s time to head to the home screen now that the splash screen has finished. In this example, we’ll build a basic home screen that shows a greeting.
class HomeScreen extends StatelessWidget {
  @override
  Widget build(BuildContext context) {
    return Scaffold(
      appBar: AppBar(
        title: Text("Lottie Splash Screen"),
      ),
      body: Center(
        child: Text(
          "Welcome to the app!",
          style: TextStyle(fontSize: 24),
        ),
      ),
    );
  }
}
- Setting up Navigation
We must return to the home screen after the splash screen. In the example below, we create a MyApp widget that sets the splash screen as the home page.
import 'package:flutter/material.dart';
import 'package:flutter_lottie/flutter_lottie.dart';
import 'package:lottie_splash_screen/home_screen.dart';
import 'package:lottie_splash_screen/splash_screen.dart';

void main() {
  runApp(MyApp());
}

class MyApp extends StatelessWidget {
  @override
  Widget build(BuildContext context) {
    return MaterialApp(
      home: SplashScreen(),
    );
  }
}
Here, we write some code for a MyApp widget that will eventually lead to a SplashScreen. SplashScreen and HomeScreen widget paths are also specified.
To get to the HomeScreen once the Animation Splash Screen is done, we need to make a few adjustments to the _SplashScreenState class:
class _SplashScreenState extends State<SplashScreen> {
  @override
  void initState() {
    super.initState();
    Future.delayed(Duration(seconds: 5)).then((_) {
      Navigator.pushReplacement(
        context,
        MaterialPageRoute(builder: (context) => HomeScreen()),
      );
    });
  }

  @override
  Widget build(BuildContext context) {
    return Scaffold(
      backgroundColor: Colors.white,
      body: Center(
        child: Lottie.asset('assets/splash_animation.json'),
      ),
    );
  }
}
Here we add an initState() method that sleeps for 5 seconds before using the Navigator to head back to the HomeScreen. approach called pushReplacement().
Conclusion
Animation Splash Screen graphic that appears when a program is first started up. It’s a chance to advertise the app or provide context before the primary user interface loads. To make a splash screen, simply create a new widget in Flutter and display it when the app starts up. read too 2 Ways Hide AppBar on Scroll in Flutter

