Running on background Flutter – It takes a mix of Flutter plugins and platform-specific code to keep an app active in the background. The ability to build and maintain background isolates is what makes the flutter isolate package one of the most popular plugins.
Here are the general steps you need to follow:
- Create an isolate: Develop a new background process using the flutter isolate package.
- Run your code in the isolate: Run background code using isolate.
- Register a background task: Use platform-specific code to register your isolate as a background task. This will ensure that your isolate continues to run even when the app is in the background or closed.
- Handle app lifecycle events: Manage your background isolation with Flutter lifecycle events (onPause, onResume, etc.).
- Debug and test: Debug and test your background isolation to make sure it handles all events. Use background apps sparingly since they may drain power and performance.
Using flutter_background Package
the flutter_background package Keep your program active in the background by following these instructions:
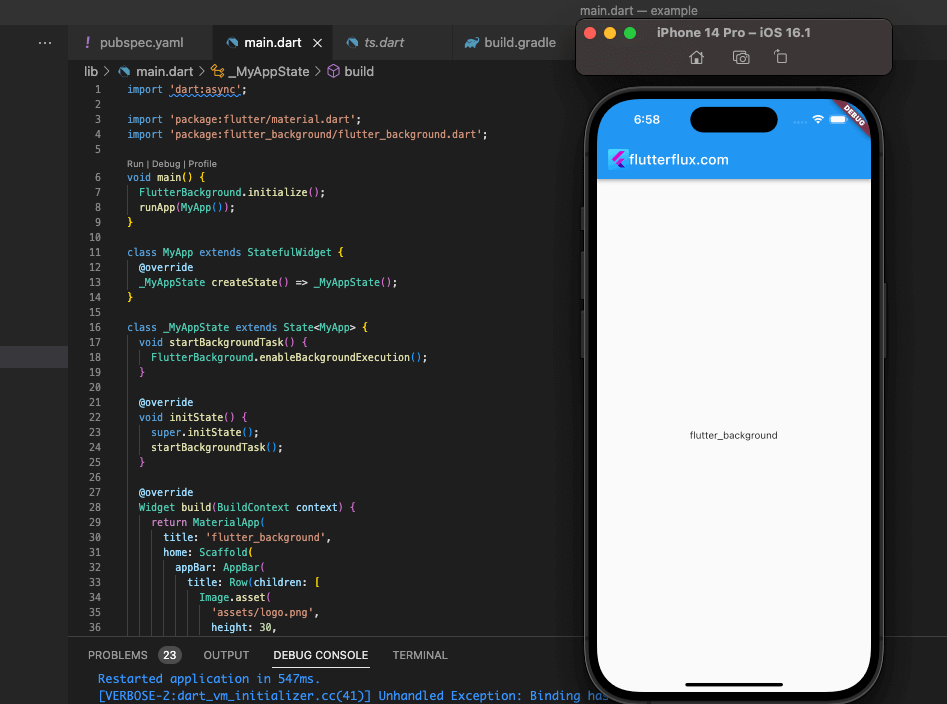
- Just include the flutter background package in your
pubspec.yamland then running “flutter pub get” will get the package for you. - Import the flutter_background package in your Dart code:
import 'package:flutter_background/flutter_background.dart';
- Make a task that operates invisibly. The “async” attribute and the await keyword ensure that the function will wait for the results of any asynchronous actions.
void myBackgroundTask() async {
  // do some background work here
  await Future.delayed(Duration(seconds: 10));
  print('Background task completed!');
}
- Initialize the package in your
main()function by using “FlutterBackground.initialize()”
void main() {
  WidgetsFlutterBinding.ensureInitialized();
  FlutterBackground.initialize();
  runApp(MyApp());
}
- To start your background task, call the “FlutterBackground.startBackgroundTask” method:
void startBackgroundTask() {
  FlutterBackground.executeTask(myBackgroundTask);
}
- To stop your background task, call the “FlutterBackground.stopBackgroundTask” method:
void stopBackgroundTask() {
  FlutterBackground.stopBackgroundTask();
}
- Finally, use the Flutter lifecycle events (onPause, onResume, etc.) to manage your background task and ensure that it is running when it needs to be:
@override
void onPause() {
  super.onPause();
  startBackgroundTask();
}

@override
void onResume() {
  super.onResume();
  stopBackgroundTask();
}
Note that the flutter background package uses code that is specific to each platform to keep your app running in the background.
Using background fetch flutter package
Flutter’s background fetch lets apps conduct tasks in the background. This functionality lets an app update content, sync data, and deliver alerts without the user opening it.
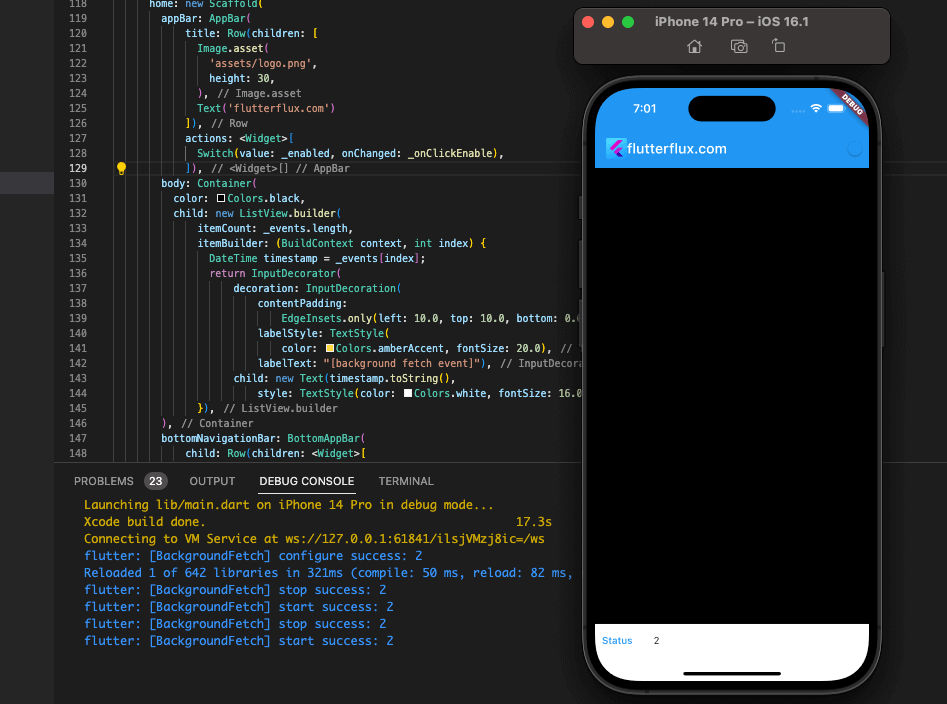
The flutter background fetch package allows Flutter background fetch. This package lets you register a callback function for when your app is in the background and permitted to retrieve.
Background fetch in Flutter keeps the app updated and sends timely messages, improving the user experience.
example of using background fetch in Flutter:
- First, add the
flutter_background_fetchpackage to yourpubspec.yamlfile:
dependencies:
  flutter_background_fetch: ^0.6.0
- Import the package in your Dart file:
import 'package:flutter_background_fetch/flutter_background_fetch.dart';
- Register a callback method for when the program is in the background and may fetch:
void backgroundFetchHeadlessTask(String taskId) async {
  // Perform your background fetch operation here
  // This function will be called periodically by the system
  // You can use taskId to identify the fetch operation
}

void main() {
  // Register the callback function
  FlutterBackgroundFetch.registerHeadlessTask(backgroundFetchHeadlessTask);

  // Configure the background fetch
  FlutterBackgroundFetch.configure(
    minimumFetchInterval: 15, // Fetch data every 15 minutes
    stopOnTerminate: false,
    startOnBoot: true,
    enableHeadless: true,
  );

  runApp(MyApp());
}
In this example, the system will regularly use the backgroundFetchHeadlessTask function to carry out the retrieve.
FlutterBackgroundFetch.configure sets the fetch interval, whether to stop it when the app is closed, and whether to start it when the device starts up.
The backgroundFetchHeadlessTask function should retrieve and return a Future asyncally. If you have numerous background fetch operations, utilize taskId to distinguish them.
Done! These instructions allow your Flutter app to utilize background fetch to retrieve data in the background.
Using android_alarm_manager_plus Package
A system service, Android Alarm Manager lets you set recurring events to run at predetermined times or at regular intervals. It’s often used for things like synchronizing data or delivering alerts that may be left running in the background.
Flutter flutter local notifications and flutter background plugins allow it to communicate with the Android Alarm Manager. Both the flutter local notifications and flutter background plugins enable users to receive and show alerts at predetermined periods and intervals, respectively.
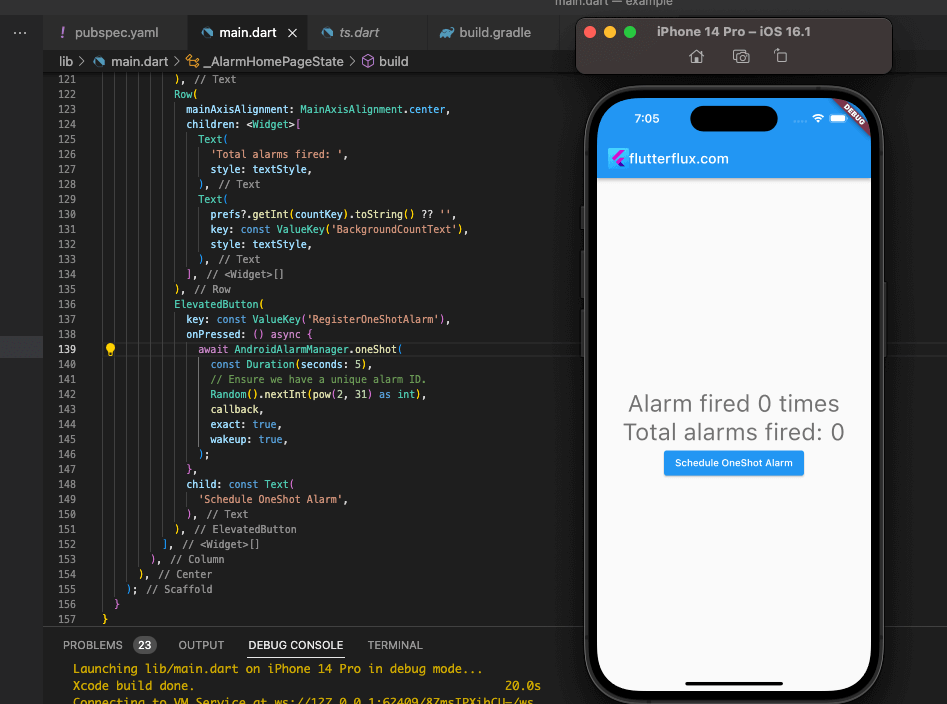
You must add dependencies to your pubspec.yaml file and import packages in your code to utilize the Android Alarm Manager in your Flutter app. Then use AlarmManager to schedule tasks and NotificationManager to deliver alerts.
example of how to schedule a task using the Android Alarm Manager in Flutter:
import 'package:flutter/material.dart';
import 'package:flutter_local_notifications/flutter_local_notifications.dart';
import 'package:flutter_background/flutter_background.dart';

void main() {
  WidgetsFlutterBinding.ensureInitialized();
  FlutterBackground.initialize();
  runApp(MyApp());
}

class MyApp extends StatelessWidget {
  final FlutterLocalNotificationsPlugin notificationsPlugin =
      FlutterLocalNotificationsPlugin();

  @override
  Widget build(BuildContext context) {
    return MaterialApp(
      home: Scaffold(
        appBar: AppBar(
        title: Row(children: [
          Image.asset(
            'assets/logo.png',
            height: 30,
          ),
          Text('flutterflux.com')
        ]),
      ),
        body: Center(
          child: ElevatedButton(
            child: Text('Schedule Task'),
            onPressed: () async {
              await FlutterBackground.scheduleAlarm(
                Duration(seconds: 5),
                0,
                'my_task',
                NotificationDetails(
                  android: AndroidNotificationDetails(
                    'channel_id',
                    'channel_name',
                    'channel_description',
                  ),
                ),
              );
            },
          ),
        ),
      ),
    );
  }
}
The Flutter Background plugin schedules a job to run 5 seconds after the button is pushed. Flutter Local Notifications displays a notification.
The Android Alarm Manager is a useful tool for Flutter app background tasks and alerts.
Using workmanager Package
Flutter WorkManager package simplifies background processing even when the app isn’t active or the device is sleeping. It lets developers plan tasks to run later, even while the app is closed.
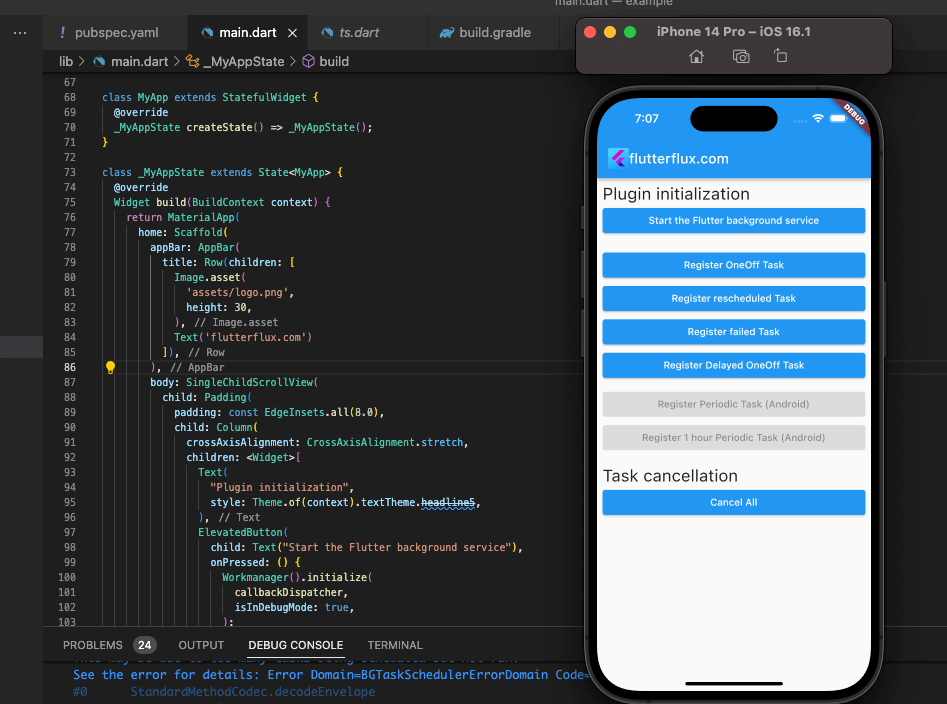
Some of the benefits of using WorkManager in Flutter include:
- Reliable execution of background tasks: Flutter WorkManager package offers a straightforward means of conducting background processes even when the app is not active or the device is dormant. It allows programmers schedule tasks and ensures they execute even when the app is closed.
- Battery optimization: WorkManager batches and delays tasks to run while the device is idle to save power.
- Easy integration: WorkManager is easy to integrate with existing code and can be used alongside other Android background processing APIs.
- Cross-platform support: WorkManager makes cross-platform app development simple on Android and iOS.
Overall, WorkManager is a useful tool for Flutter developers that need to run background operations. It makes scheduling and performing tasks easy and reliable.
example of how to use the WorkManager plugin in Flutter:
- Add the
workmanagerplugin to your pubspec.yaml file:
dependencies:
  workmanager: ^0.4.1
- Import the workmanager plugin in your Dart file:
import 'package:workmanager/workmanager.dart';
- Initialize the WorkManager plugin in your app:
void callbackDispatcher() {
  Workmanager.executeTask((taskName, inputData) {
    print("Native called background task: $taskName");
    return Future.value(true);
  });
}

void main() async {
  WidgetsFlutterBinding.ensureInitialized();
  await Workmanager.initialize(
    callbackDispatcher,
    isInDebugMode: true,
  );
  runApp(MyApp());
}
- Schedule a background task:
void scheduleBackgroundTask() {
  Workmanager.registerOneOffTask(
    "myTask",
    "backgroundTask",
    initialDelay: Duration(seconds: 5),
    inputData: <String, dynamic>{},
  );
}
- Define the background task:
Future backgroundTask() async {
  print("Running background task");
  return true;
}
Launch the app and run scheduleBackgroundTask(). The console will display “Starting background process” after a 5-second wait. The WorkManager plugin requires callbackDispatcher. Native code calls this method when a background job is planned.
Conclusion
Isolates, background fetch, and WorkManager can conduct Flutter background activities. Background fetch does periodic chores when the app is not active, while isolates execute code simultaneously on a different thread. WorkManager schedules and executes background jobs with limitations and data input/output.
While executing background processes, consider the task’s needs and the device’s performance. Background processes should minimize battery use and handle failures properly.
Many Flutter applications need background activities, and developers have various methods to accomplish them.

