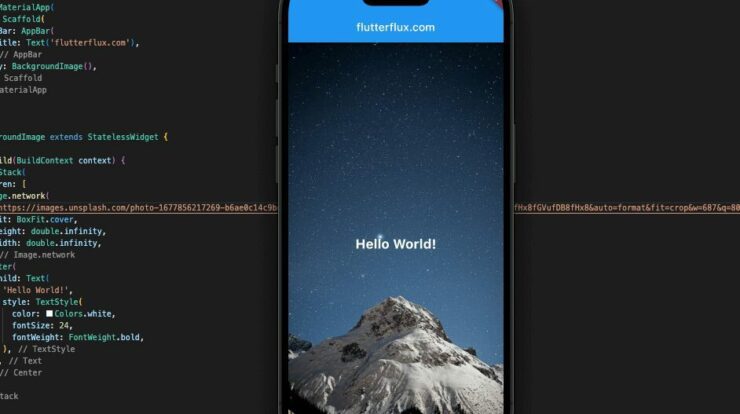
Background image in Flutter that serves as the background of a screen or a widget. The Picture widget lets Flutter users resize, move, and align Background images.
To set a background image, follow these steps:
- Including the picture in the assets folder for your project. To accomplish this, make a new folder in the root directory of your project and name it “assets.” Then, save the image file inside of the “assets” folder you just created.
- In your pubspec.yaml file, add the following line to declare the asset:
assets:
  - assets/image.jpg
- In your Flutter code, import the image package:
import 'package:flutter/material.dart';
import 'package:flutter/services.dart';
import 'package:flutter/widgets.dart';
- Make a new widget with the picture as the Background image in Flutter. To accomplish this, use the Stack widget and position the picture widget at its base:
class BackgroundImage extends StatelessWidget {
  @override
  Widget build(BuildContext context) {
    return Stack(
      children: [
        Image.asset(
          'assets/image.jpg',
          fit: BoxFit.cover,
          height: double.infinity,
          width: double.infinity,
        ),
        // Add other widgets on top of the background image here
      ],
    );
  }
}
- Use the
BackgroundImagewidget in your app by adding it to theScaffoldwidget’s body:
class MyApp extends StatelessWidget {
  @override
  Widget build(BuildContext context) {
    return MaterialApp(
      home: Scaffold(
        body: BackgroundImage(),
      ),
    );
  }
}
- The look of the Background image in Flutter can be changed by modifying the
fit, height, and width attributes of theImage.assetwidget. Scaling the image to fit the available area is a matter of setting the fit attribute accordingly. To have the image occupy the entire screen, set the height and width properties todouble.infinity.

Complete code background image in Flutter:
import 'package:flutter/material.dart';

void main() {
  runApp(MyApp());
}

class MyApp extends StatelessWidget {
  @override
  Widget build(BuildContext context) {
    return MaterialApp(
      home: Scaffold(
        body: BackgroundImage(),
      ),
    );
  }
}

class BackgroundImage extends StatelessWidget {
  @override
  Widget build(BuildContext context) {
    return Stack(
      children: [
        Image.asset(
          'assets/background.jpg',
          fit: BoxFit.cover,
          height: double.infinity,
          width: double.infinity,
        ),
        Center(
          child: Text(
            'Hello World!',
            style: TextStyle(
              color: Colors.white,
              fontSize: 24,
              fontWeight: FontWeight.bold,
            ),
          ),
        ),
      ],
    );
  }
}
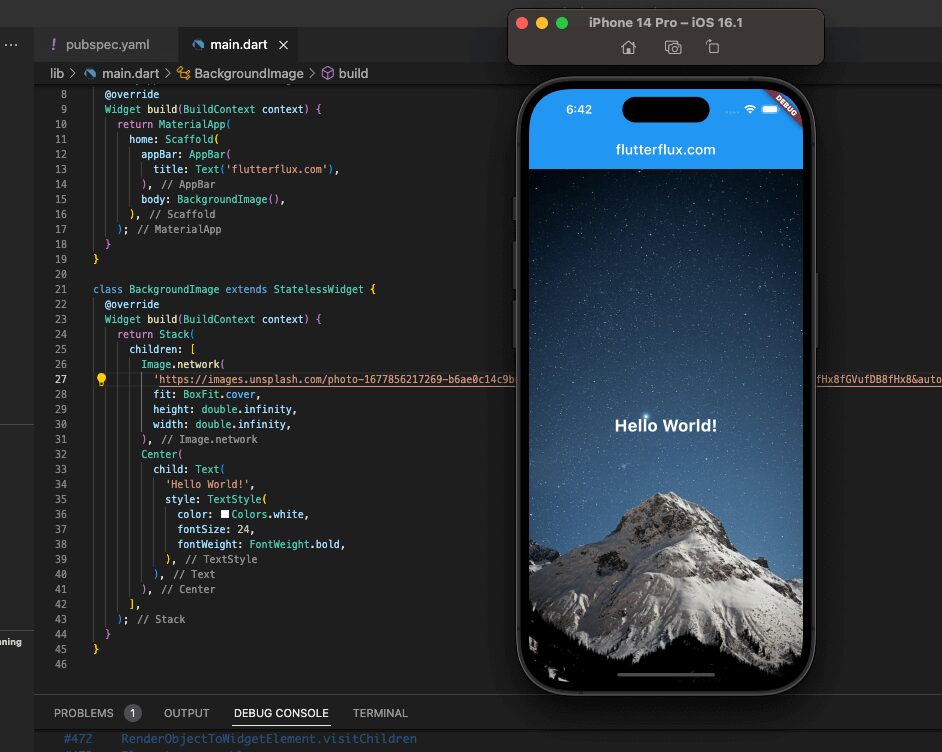
In this example, we have created a MyApp widget which is the entry point of our application. The MyApp widget returns a MaterialApp widget which is the root widget of our app. The MaterialApp widget has a Scaffold widget as its home which is where we set the background image.
With the use of a Stack widget, the stateless BackgroundImage widget positions the Background image in Flutter at the stack bottom and a Text widget in the screen center. To ensure that the background image fills the full screen, we use the Image.asset widget to load it from the assets folder and set its fit attribute to BoxFit.cover. The Text widget is centered on the screen with the help of the Center widget, and it is given a specific style with the help of the TextStyle widget.
Conclusion
Flutter Container widget can set a widget Background image in Flutter by assigning a BoxDecoration with an image to the decoration property. Set image origin, size, and fit with the DecorationImage class. Before change a background image to your Flutter app, consider its dimensions and aspect ratio. MediaQuery can extract screen size and adjust picture size and fit. read too Flutter Animated Gradient Wave


